
To learn how to make text follow a path in Adobe After Effects follow the steps below and watch the video tutorial:
Step1.
Create a New Composition
Click on New Composition. In Composition, Settings select the width and height of your project, set the Frame Rate to 25, and the Duration to your preferred one.

Step2.
Type a text
Use the Horizontal Type Tool and type your text:

To change the font, font size, and font colour go to the right side of the screen:

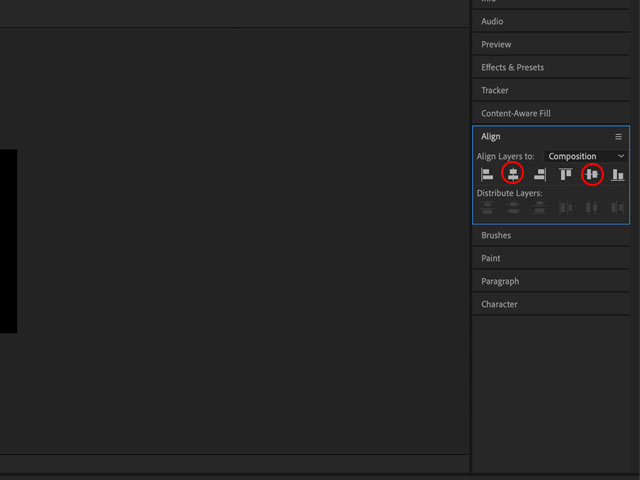
To align the text choose the Align option (optional):
Step3.
Draw a path
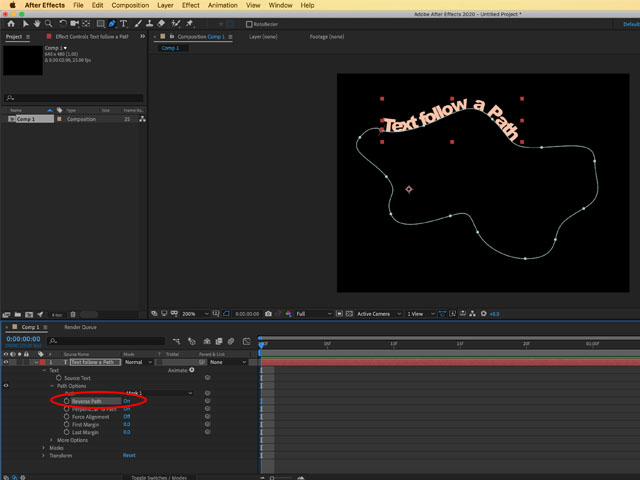
Use the Pen Tool and draw the path (click and drag):

Go to the Composition panel, and click the arrow on the text layer. Go to Path Options -> Path and select Mask1:


You can see your text on the path now. To change the position of the text On the Reverse Path option (to set the text outside a path):
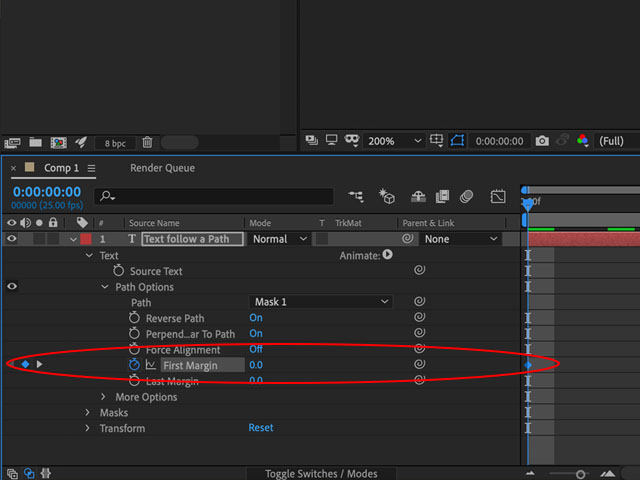
Go down to the First Margin option, and set the first stopwatch to 0 (at the beginning of the composition) and the second stopwatch (with a value set by you) at the end of the composition.
Note: The value of the second stopwatch it’s up to you (depends on how you want to move the text on a path). In this tutorial, I moved the text around the path to make the loopable GIF later.

To preview/play the animation go to the main panel and by right click select Preview->Play Current Preview:

Step4.
Export a file
To export your video/ GIF go to File->Export->Add to Adobe Media Encoder Queue…

The Adobe Media Encoder will open. In Adobe Media Encoder go to Queue, and select the wanted format, name, and localization of your animation. Click on the green triangle:

Go to the selected localization and enjoy your video/GIF!
Watch also the video tutorial:
Read also:
How to export high-quality GIF from Adobe Premiere Pro? (Photoshop solution)